
Local fairs present an exciting opportunity for small businesses to showcase their products, connect with new customers, and build brand recognition in the community. With the right preparation, even a first-time vendor can enjoy a successful experience at the fair.
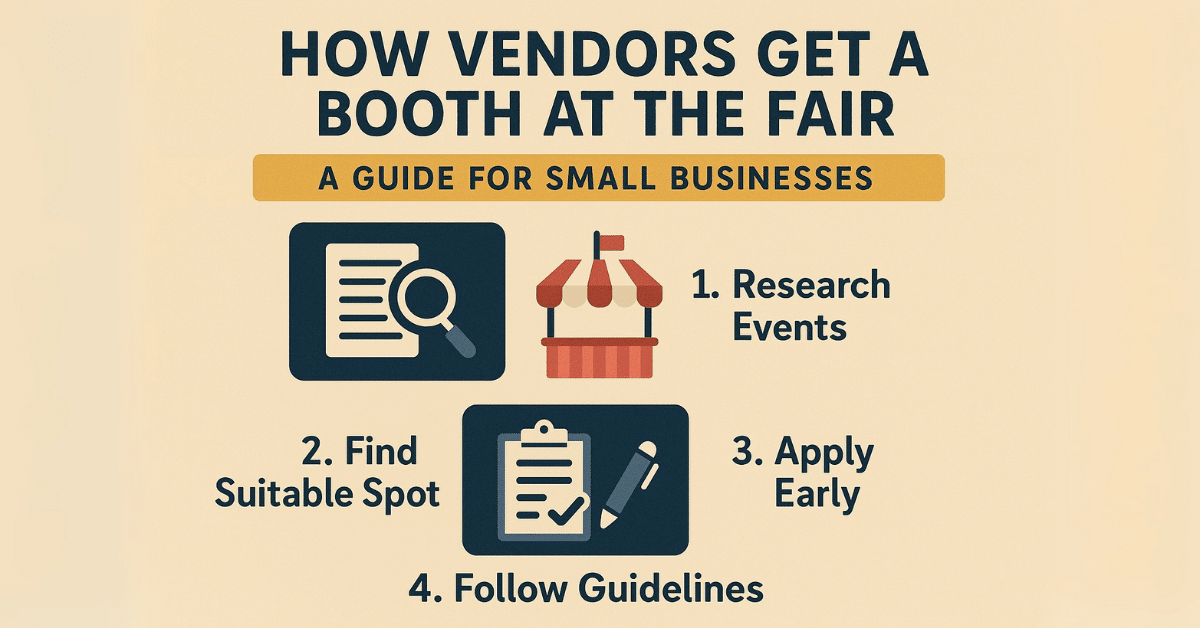
How Vendors Get a Booth at the Fair
But how do you go from a great idea to actually setting up a booth on event day? This guide covers each step to help small businesses understand the process, prepare their applications, and make the most of their time at the fair.
Why Fairs Attract Small Businesses
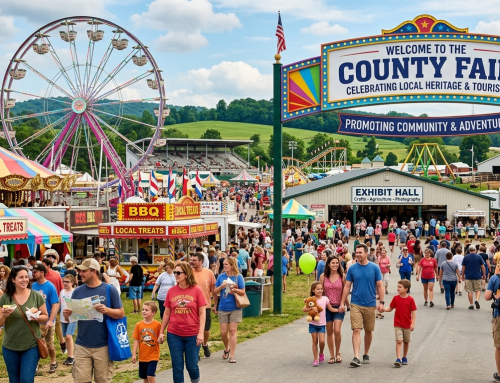
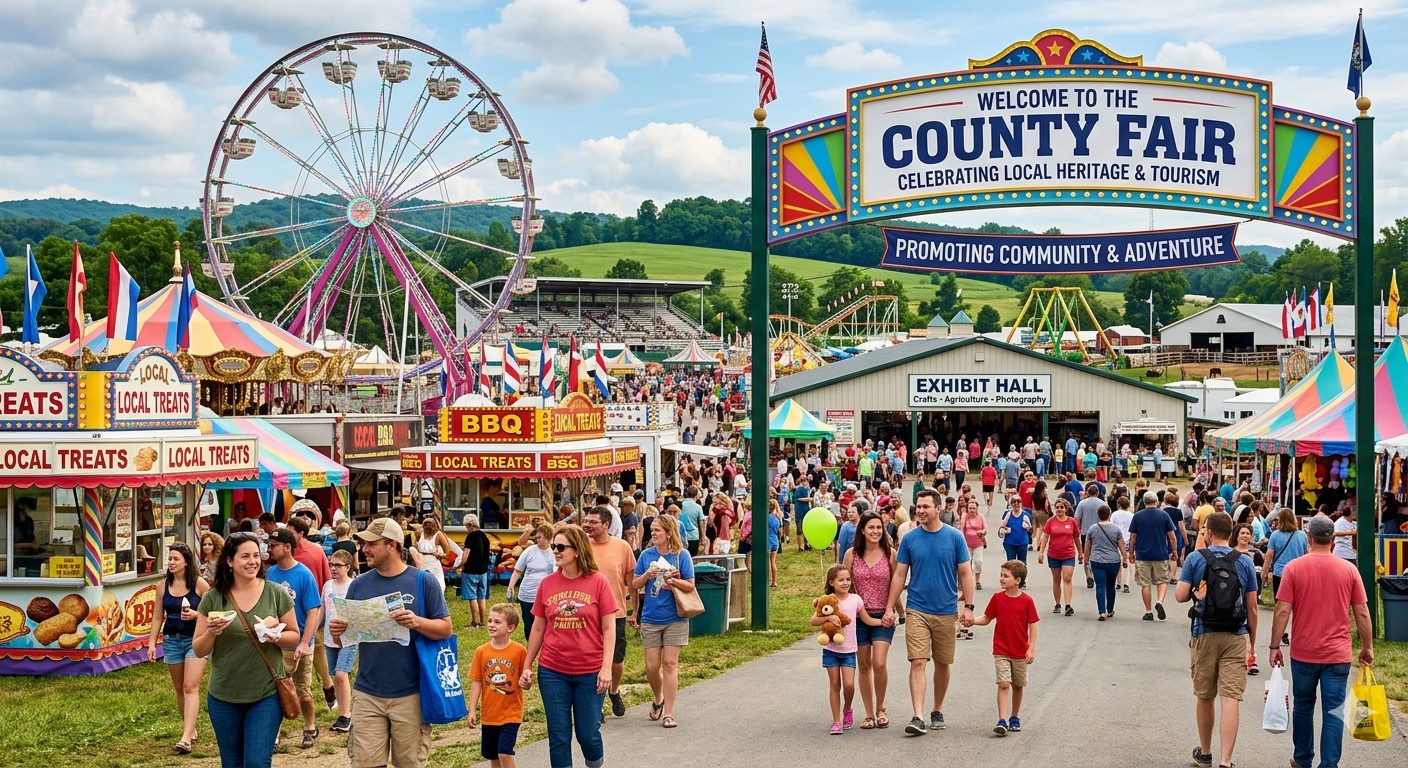
Fairs draw crowds. Whether it’s a seasonal community festival, a county fair, or a specialty market, these events bring together hundreds—or even thousands—of potential customers in one place. For small businesses, especially those selling handmade products, local foods, crafts, or unique services, the fair offers exposure that can be hard to achieve elsewhere.
It’s not just about sales. Vendors benefit from real-time customer feedback, opportunities to network with other local businesses, and a chance to establish brand presence in the local market. People often remember who they bought from at the fair—especially if the experience felt personal and the product was memorable.
Finding the Right Fair for Your Business
Before applying, it’s important to choose a fair that matches your business goals. Not all events are the same, and selecting the wrong one can lead to poor results.
Here are a few things to consider:
- Audience fit: Think about who typically attends the fair. Are they families, students, tourists, or retirees? Your product or service should appeal to the event’s core audience.
- Type of event: Some fairs focus on crafts and art, others on food, music, or agriculture. Choose the one where your offering feels natural.
- Cost vs. foot traffic: Larger fairs may come with higher booth fees but more attendees. Smaller fairs may cost less and offer a relaxed environment, but with fewer sales opportunities.
You can usually find information on upcoming fairs through:
- The official websites of local counties or towns
- Community Facebook groups and local event calendars
- Vendor listing platforms like Eventbrite or FairExpo
- Talking with other small businesses in your area
How the Application Process Works
Once you’ve identified the fair you’re interested in, it’s time to apply for a booth. Each fair has its own process, but most follow a similar structure.
Where to Apply
Fair organizers typically post vendor applications on their websites under a “Vendors” or “Exhibitors” section. If not, you can usually email or call to request one. Be sure to read the vendor guidelines carefully—they often outline what types of businesses are allowed and what’s required for approval.
What the Application Includes
Vendor applications commonly ask for:
- A business name and contact information
- A detailed product or service description
- Photos of your setup or items for sale
- Proof of required permits or licenses
- Booth size preferences and any special requests
- Payment of a booth reservation fee
Many fairs also require liability insurance and may ask for proof. If you’re a food vendor, additional documentation such as health permits or food handler certifications may be necessary.
Pay Attention to Deadlines
Fairs usually have limited space. Submitting your application early increases your chance of getting accepted. Some fairs review applicants based on diversity, ensuring there aren’t too many vendors selling the same type of product. Late applications might be rejected or placed on a waitlist.
What Makes a Vendor Booth Stand Out
Getting accepted is one thing—making an impression is another. Organizers often ask for photos of your booth or products, so it’s worth investing some time into setting up a display, even if it’s just for the application.
Key elements that help your booth presentation:
- A clear and tidy layout that makes browsing easy
- Professionally printed signage showing your business name
- Branding materials like banners, brochures, and price tags
- Color-coordinated tablecloths or displays
- Organized product arrangements or displays at different heights
Your booth doesn’t need to be expensive or elaborate. It just needs to look clean, welcoming, and consistent with your brand.
Fair Regulations and Requirements
Fairs often have strict rules in place to keep the event running smoothly and safely for everyone.
Permits and Insurance
Depending on your location and what you sell, you may need:
- A local business license or seller’s permit
- Food handler’s permit (for food and beverage vendors)
- General liability insurance
- Temporary sales tax ID
Check with your local government and the fair’s guidelines so you’re not caught off guard.
Safety and Setup Rules
Fairs may have regulations about:
- Tent size and weight
- Fire safety for cooking or electrical equipment
- Electrical usage and extension cords
- Waste management and cleanup after the event
Read the event handbook, if provided, and follow the setup instructions to avoid fines or ejection.
Budgeting for a Fair Booth
Setting up a booth comes with costs beyond the vendor fee. Creating a budget in advance helps avoid surprises.
Here’s a breakdown of typical expenses:
- Booth fee (usually ranges from $50 to $500 depending on fair size)
- Table, tent, and chair rentals (if not provided)
- Inventory costs
- Signage and marketing materials
- Insurance and permits
- Staff, helpers, or assistants for the day
- Transportation and lodging (for out-of-town events)
Even a modest setup can be successful if it’s well-organized and stocked appropriately.
Ways to Attract Attention During the Fair
In a sea of vendors, you’ll want to catch people’s attention. Here are some smart ways to do it:
- Offer free samples (for food or small handmade items)
- Create a “spin the wheel” giveaway or discount game
- Use signs with clear pricing
- Use a chalkboard to display daily specials or fun facts
- Play light music or offer seating for passersby
Make it easy for attendees to understand what you’re selling from a distance.
Vendor Checklist for Fair Day
Here’s a simple list to help ensure you’re ready on the big day:
- Printed booth confirmation and map
- Business license or required permits
- Tent, tables, chairs, displays
- Inventory or stock of products
- Pricing sheets and signage
- Card reader or cash box with change
- Extension cords, power strips, chargers
- Emergency kit (tape, scissors, pens, snacks)
- Business cards or flyers
Arrive early to allow plenty of time to set up and troubleshoot any issues.
After the Fair: Don’t Miss the Follow-Up
The fair may end in a day or two, but the benefits can continue if you follow up with your leads and customers.
Things to do after the event:
- Review what sold well and what didn’t
- Reach out to any customers who left contact info
- Post on social media with photos or thank-you notes
- Add new customers to your email list (with consent)
- Reflect on what you’d change for next time
- Apply early for the next fair if it was a good fit
Many vendors find that the connections they make at fairs lead to future sales, online orders, or even wholesale opportunities.
Conclusion
Getting a booth at the fair might seem overwhelming at first, but with the right research, preparation, and mindset, small businesses can do more than just show up—they can make a lasting impression. Each fair is a chance to connect, share your work, and grow your reach one conversation at a time. So whether you’re just getting started or looking to expand your presence, a fair booth might be your next big step.
Have questions or stories from your own vendor experience? Feel free to share them in the comments!


I’m a Henna Artist.