

 A Winter Survival Tip for Grill Masters
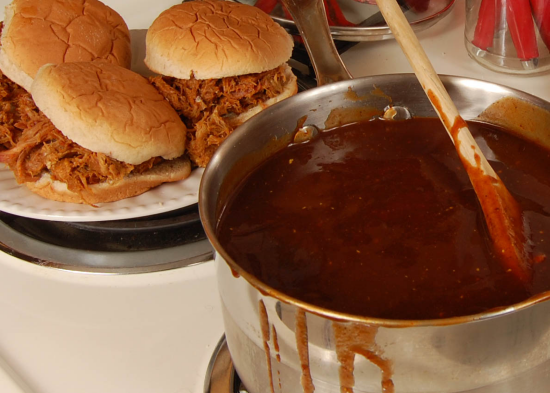
Winter temps are dropping across the land and this probably causes outdoor cooking angst for those who consider themselves grill masters! Yes, some will trek to the grill or smoker no matter how deep the snow is or how cold the temperature may drop.
This is especially true for die-hard tailgate fans watching NFL playoff football.
But, for many others… it’s just to dang cold to fire up the charcoal or gas in order to grill a couple of burgers or steaks when you can cook inside or dine-out. So, what’s a grilling junkie to do? You can either go for it and invest in a heavier coat… or, try some new things in the kitchen that can be moved outside when the temperature rises! Even if it’s just one warm day in the middle of January or February.
Here’s my suggestion for surviving the winter season – turn your attention to a dish you’ve always wanted to try but were afraid to do for a crowd. Chances are your outdoor cooking parties are limited so a first shot a new dish can be cooked, taste tested and perfected before you next official cookout party with guests.
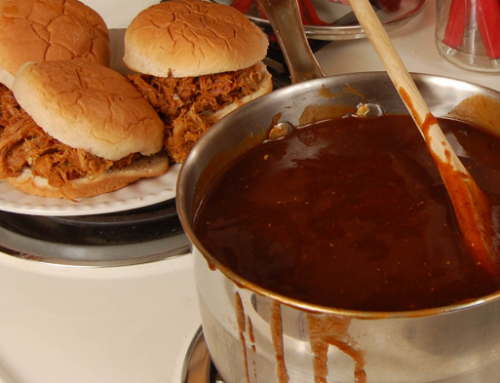
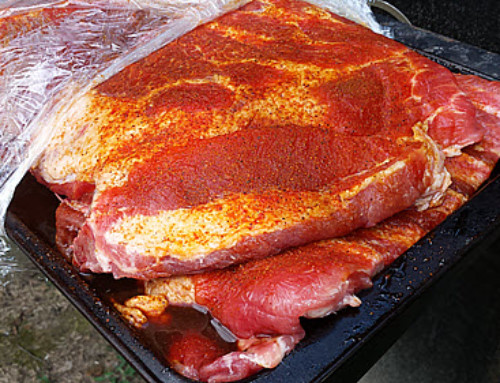
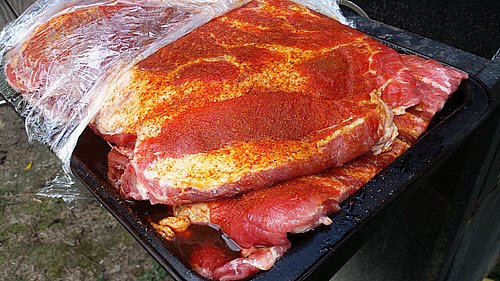
Take on a few quick and easy recipes that can be easily tweaked for both indoor and outdoor use. I like trying to perfect new sauces or rubs during the winter, so I can serve them up in the Spring and Summer months.
Here’s a suggestion to get you started starting with a tasty mustard that would be perfect for hot dogs and brats broiled in the oven for the Big “Super” Game!
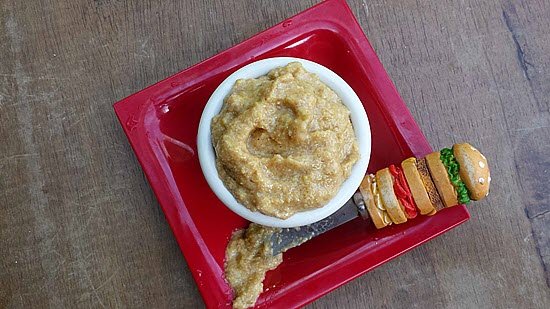
 Homemade Beer Mustard – A Fun and Easy Winter Survival Tip
Making your own mustard is easier than you may think. It’s a simple four step process that requires added time for the finished mustard to rest. You need some mustard seeds and liquid.
Most people use a combination of vinegar and water. Here’s where you can begin to play with things. Beer can replace the water!
Here’s the four basic steps: They are the same if you are using water, beer, wine, etc. as your liquids.
Step 1 – SOAK your mustard seeds with enough liquid to cover the in a covered, non-reactive bowl. Soak for 2-4 days in the fridge. Check every day or so and stir slightly.
Step 2 – BLEND the soaked seeds in a blender or food processor. Short bursts produce a chunkier mustard. Longer makes a creamier mustard.
Step 3 – FLAVOR your mustard using additional ingredients. How about Tennessee Whiskey, Kentucky bourbon, brown sugar, maple syrup, honey, hot sauce, and more. Simply add some desired ingredients a little bit at a time. Some you’ll like, and some you won’t.
I suggest using a spoonful of mustard for testing, so you don’t ruin a whole batch or pureed seeds.
Step 4 – REST your mustard blend to let the flavors deepen. A couple of days in a sealed container in the back of the fridge should do it!
A mustard made with vinegar and water has a long stored in the refrigerator shelf life. I’ve been told that once you start adding things such as beer and honey the shelf life decreases. Have fun making your own mustard! I think it’s something that once you’ve tried it, you’ll keep coming back seeking different flavor combinations.
**********************************************************************************************************
Author Kent Whitaker, also known as “The Deck Chef,” is a culinary writer and cookbook author. He’s also penned Young Reader and History titles. The former winner of the Emeril Live Food Network Barbecue Contest also covers football, motorsports, and bass fishing. Kent currently lives in East Tennessee with his wife, son, and a couple of dogs that love when he fires up the smoker or grill.


Leave A Comment
You must be logged in to post a comment.